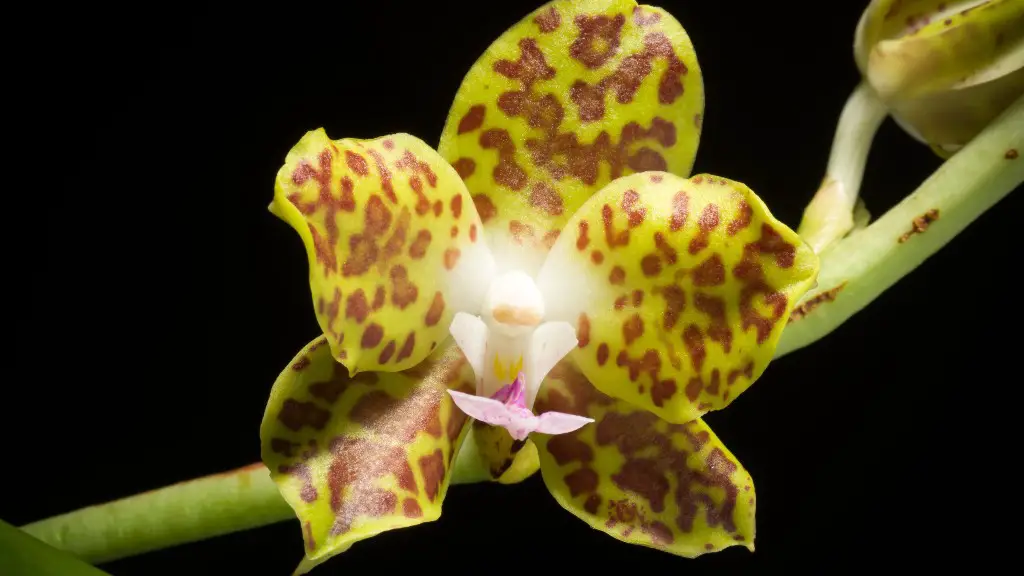
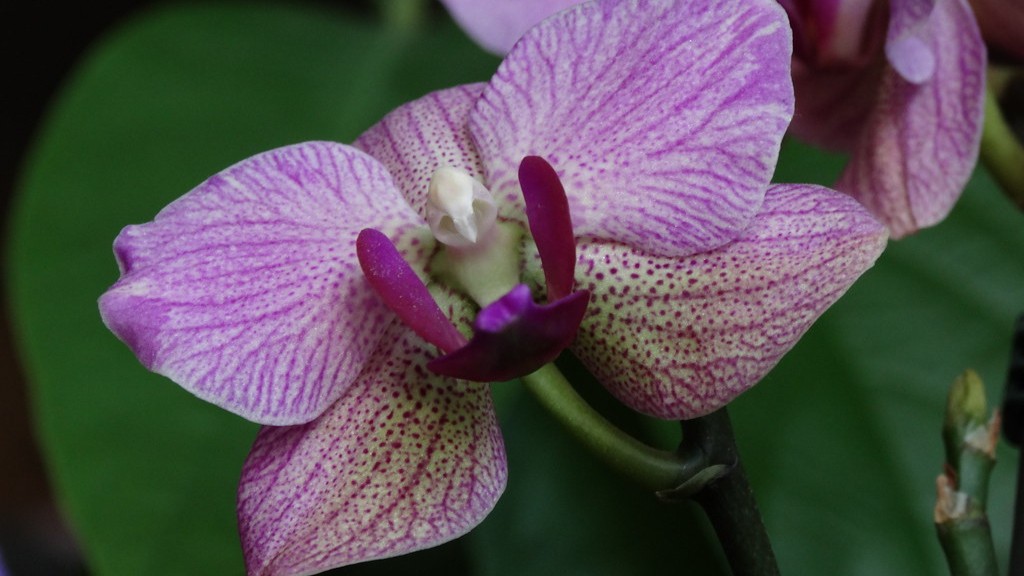
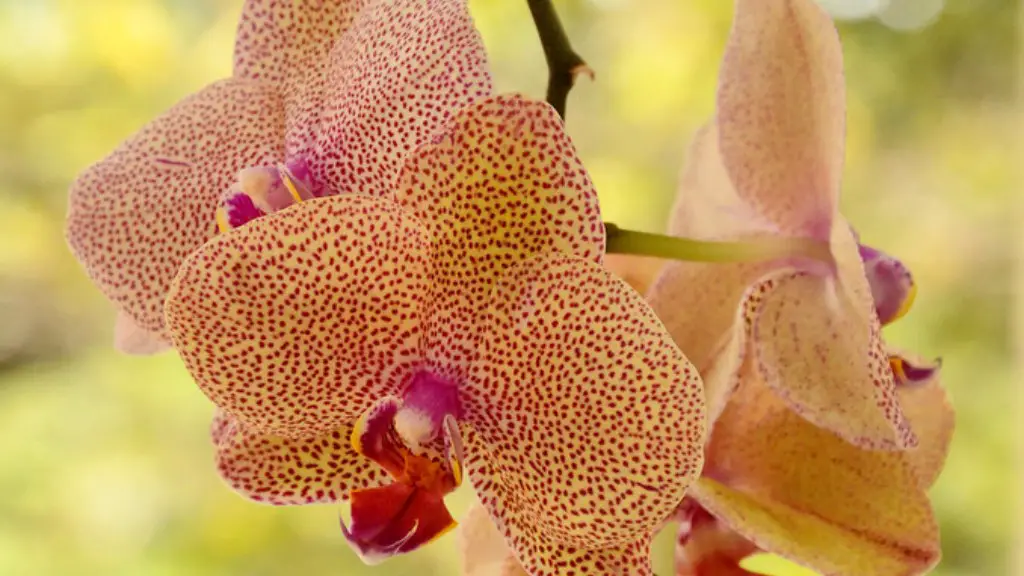
What’s the difference between Phalaenopsis orchids and the orchids you might find at your local grocery store? For starters, Phalaenopsis orchids are epiphytes, which means that in their natural habitats, they grow on other plants, often high in trees, and derive their nutrients from the air and rainwater rather than from the soil. Because of this, Phalaenopsis orchids don’t require a lot of potting material, and in fact, potting them in too much soil can actually be harmful. The main thing these beautiful plants need is a pot with good drainage and a loose, airy potting mix.
1. Gather your materials. You will need a potting mix, a pot, and a phalaenopsis orchid plant.
2. Fill the pot with potting mix, leaving room at the top for the plant.
3. Gently remove the orchid plant from its current pot.
4. Place the plant in the new pot and fill in around it with potting mix.
5. Water the plant well.
6. Place the pot in a bright, indirect light location.
What is the best way to pot Phalaenopsis orchids?
When potting a plant, it is important to select a pot that will accommodate the roots and potting medium. Gently place the roots in the pot, keeping the plant centered in the pot. Align the roots and slide them down into the pot until the base of the bottom leaf is slightly above the rim of the pot.
This type of orchid typically blooms once a year, so it is best to wait until after it has flowered to repot.
When should I repot my Phalaenopsis orchid
If you need to repot your phalaenopsis orchid, the best time of year is spring or fall. Summer is the next best time to repot.
Phalaenopsis orchids are some of the most popular and well-known orchids in the world. They are also known as “moth orchids” because their flowers resemble moths in flight. Phalaenopsis are native to tropical and subtropical areas of Asia, the Indian Ocean, and Australia.
Do orchid pots need holes in the bottom?
An orchid should live and grow in a plastic or terra-cotta grow pot with drainage holes or slits in the container. This will ensure that the plant doesn’t get soggy, wet feet.
Most orchids require a 4, 5 or 6 inch pot. There are seedlings and miniatures that require smaller pots, older specimen plants and some genera (Cymbidium, Phaius, large Cattleya) that often require 8 inch pots or bigger but the majority of orchids sold in groceries, box stores, florists and the like are not these.
How do you repot an orchid for beginners?
If you’re thinking about repotting your orchid, here are a few things to keep in mind. First, is the plant new? If so, you’ll probably want to wait a few months before repotting. And if it’s been a while since the last repotting, that’s also something to take into account. Is the plant crowded in its current pot? If so, it might be time for a new one. To repot, first remove the orchid from its current pot. Then, soak the roots in water for a few minutes. After that, gently loosen and untangle the roots. Once that’s done, you can settle the plant into its new pot. Water thoroughly and you’re all set!
If you are growing an orchid and are looking to produce aerial roots, it is best to not use a perlite/peat mix. Some experts believe that this mix is less likely to produce aerial roots than bark. Either way, it is important not to cover the roots, as they may rot.
Can I repot an orchid in regular potting soil
Orchids are best potted in a mixture of sphagnum moss, bark, and perlite. This mixture will provide your orchid with the airflow it needs to survive.
If you notice that your orchid’s roots are soft and brown, it may be a sign that you have waited too long to repot the plant. Soil that is not replaced can retain more water, leading to root rot and leaving your orchid vulnerable to fungal diseases. If you have waited too long to repot, you’ll notice that your orchid is holding too much water and the roots will appear brown and feel soft to the touch.
Should I water my orchid right after repotting?
After repotting your orchid, water it thoroughly and fertilize it when watering with Better-Gro Better-Bloom Orchid Fertilizer for the first few weeks. This fertilizer is high in phosphorus and will stimulate root growth.
When you are ready to repot your orchid, you will want to let the bark mix soak for about a half hour. The reason you want to do this is so you can properly hydrate the bark so it will more easily accept water. The bark needs some help to get started.
What is the best potting material for orchids
Fir and Monterey bark are two of the most commonly used potting media for orchids. They are both long-lasting and porous, and provide good drainage. Clay pellets are often added to mixes to prevent compaction and improve drainage. The mix must be leached periodically to remove salts that build up over time.
If your Phalaenopsis orchid is potted in bark, watering once a week is generally sufficient. If your plant is potted in moss, water when the top feels dry. The amount of light and heat your plant receives will also affect how soon your Phal needs watering. Summer months will need more frequent watering, winter will need less.
What potting medium for Phalaenopsis?
This is an ideal potting mix for many plants, as it provides good drainage while still retaining moisture. The fir bark and sphagnum moss help to aerate the mix while the peat and perlite help to retain moisture.
Orchids generally prefer shallower, squat pots as their roots don’t like all the moisture that is retained in deeper pots. They also don’t need the depth as their roots spread out, not down.
Do I water orchid from top or bottom
Orchids love humid conditions, so top watering is a great way to provide the extra moisture they crave. Plus, as the water evaporates it will help to keep the area around the plant nice and humid. Just be sure that the bottom of the pots don’t sit in water, as this can cause problems with the roots.
Generally speaking, phalaenopsis orchids do best in plastic pots because they offer better water retention. Clay pots can be more difficult to manage because they are more porous and can dry out more easily. However, with proper drainage and care, clay pots can also be a great option for orchids.
Final Words
1. Start with a pot that has drainage holes and is lined with rocks or pebbles.
2. Fill the pot with Orchid Bark Mix, up to 2 inches from the rim of the pot.
3. Gently remove the orchid from its current pot, taking care not to damage the roots.
4. Place the orchid on top of the Orchid Bark Mix in the new pot.
5. Fill in around the roots with more Orchid Bark Mix, until it is level with the top of the pot.
6. Water the orchid well, until water runs out of the drainage holes.
7. Place the pot in a bright, indirectly lit location.
In conclusion, potting a phalaenopsis orchid is not difficult as long as you have the right materials. With a little bit of care, your orchid will thrive in its new pot.
