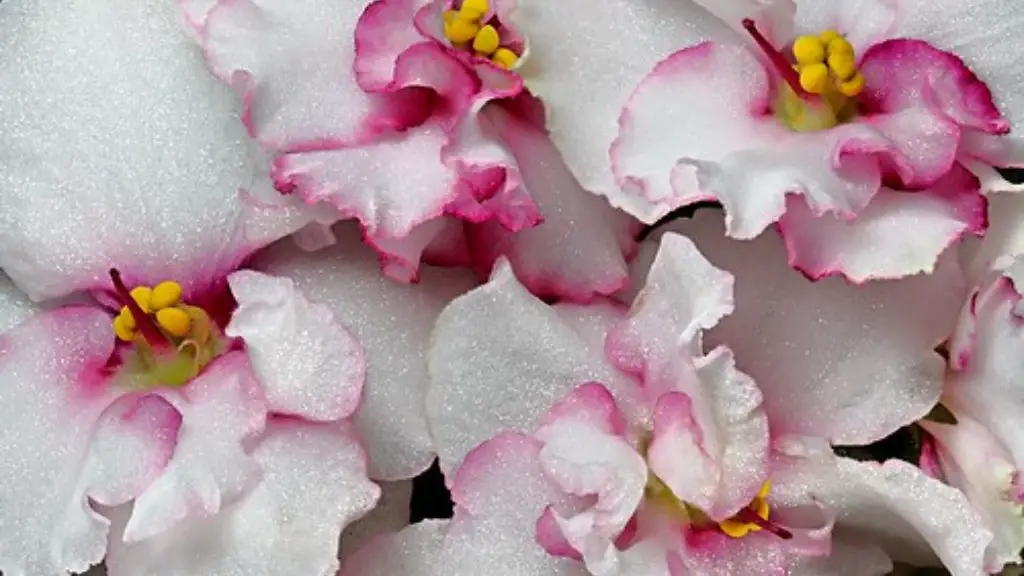
If you want to grow African violets but don’t want to keep up with frequent watering, using self-watering pots is a great solution. These pots have a water reservoir in the bottom that slowly releases water to the plant as it needs it. By using these pots, you can reduce the amount of watering needed while still keeping your African violets healthy and vibrant.
Fill a self-watering pot withAfrican violet potting mix to within an inch of the rim of the pot. Wet the mix thoroughly, and then let it drain for about 15 minutes. Gently remove your African violet from its current pot, and loosen the roots around the edges and bottom. Set the plant in the self-watering pot, and fill in around it with more potting mix, gently pressing it down as you go. Allow the plant to sit for a few hours so the roots can adjust, and then water it thoroughly.
Do self-watering pots work for African violets?
Self-watering pots are a great option for African Violet plants. They help to keep the roots of the plant moist, which is essential for these plants. I would recommend using self-watering pots for well rooted plants.
When using self-watering containers, be sure to add a layer of perlite at the bottom of the inner container. This will help with water drainage and prevent the plant from becoming too wet. Place your African Violet plant on top of the perlite layer, and add regular potting mix to the container. Water as needed, and empty the reservoir when it gets full.
How do you use ceramic self-watering pots for African violets
You will need:
-A semi-conical, unglazed ceramic planter
-A decorative ceramic African violet pot
To plant your African violet:
1. Fill the planter with potting mix, and then water it well.
2. Gently remove the plant from its current pot, and loosen the roots.
3. Place the plant in the center of the planter, and fill in around it with more potting mix.
4. Water the plant well again.
5. Set the planter inside the decorative ceramic African violet pot.
To water your African violet:
1. Remove the conical planter from the pot.
2. Fill the pot halfway full with room temperature water.
3. Allow the water to soak into the potting mix, and then empty any excess water from the pot.
A self-watering planter is a great way to make sure your plants always have enough water. Here’s how to use one:
1. Fill the self-watering planter with potting soil.
2. Fill the water reservoir.
3. Establish root development.
4. Water from the top port.
5. Drain planter when needed.
Can you plant directly into self watering pots?
Self-watering pots are a great way to keep your plants healthy and hydrated. Be sure to plant your plants in the top or inner section of the pot, and water the topsoil the first time you use your self-watering pot. This will help compact the soil on the plant roots. Fill the bottom reservoir whenever it’s empty to water your plant.
It is best to water African violets from the bottom. This allows the water to directly reach the roots without wetting the leaves, which can cause leaf spots. It is important to use lukewarm or warm water, as cold water can shock the plant.
How do self watering violet pots work?
The self-watering African Violet pot is a great way to make sure your plant always has enough moisture. The outer section of the pot holds water, which seeps through the unglazed clay of the inner pot and moistens the soil. The advantage is that you don’t have to check as often to see if your African Violet needs water. In theory, the soil should stay damp, but not soaking wet.
When choosing a pot for your African violet, it’s best to go with a smaller size pot. This will help to keep the plant slightly pot-bound, which is ideal for African violets. A professional tip is to choose a pot that is 3-4 inches in diameter for a standard African violet plant.
Do African violets like to be watered from the bottom
If you water African violet plants from the bottom up, you will need to place the plant in a shallow tray of water for 30 minutes. This allows the soil to soak up the water through the drainage holes at the bottom of the pot.
If you’re looking for a pot that will help keep your African violets healthy and hydrated, self-watering ceramic pots are a great option! The unglazed inner pot allows water to slowly penetrate through to the soil, giving your plants the moisture they need to thrive.
What do you put in the bottom of a self-watering planter?
When adding potting mix to a planting container, it’s important to use a mix that is moist. Some companies sell mixes specifically for self-watering containers, but any high-quality mix will work. The key is to moisten the mix before placing it in the planting container. If you use dry potting mix, it will not work.
This is a great way to help your plants thrive! By adding an extra chamber to your planter, you’re giving your plants a place to store water so they can access it as-needed. This is much better than drilling holes in your planter, which can cause water to drain out too quickly and harm your plants.
Do self-watering pots overwater
Self-watering pots are perfect for indoor plants! You won’t have to worry about overwatering your plants, as the reservoir will automatically keep the soil moist. All you need to do is fill the reservoir with water every two to four weeks. This way, you can enjoy your plant’s healthy growth without all the hassle!
Self-watering pots are a great way to make sure your plants always have enough moisture, but you still need to be careful not to overwater them. If there is no overflow or gauge, it is easy to overwater your plants and cause them to rot.
How do you put soil in a self-watering container?
Step 1: Add a small layer of soil into the bottom of your pot. Step 2: Supporting the stem with two fingers, add more soil around the plant until the roots are completely covered. Step 3: press down gently on the soil to compact it around the plant.
To keep your plants healthy, it is important to change the water in the reservoir every two weeks. This will help to prevent the roots from drying out and becoming unhealthy. If you live in a dry climate or have plants that don’t need watering often, you can go longer without changing the water.
Warp Up
This is a relatively easy process that can be done with some simple items that can be found around the house. All you need is a self-watering pot, some African violet potting mix, and a fewafrican violets.
1. First, you need totill the African violet potting mix into the self-watering pot. This will help to aerate the roots and allow the plant to absorb more water.
2. Next, you need to add water to the self-watering pot. Be sure to use lukewarm water so as not to shock the roots.
3. Once the pot has been filled with water, you can then add theafrican violets.
4. Be sure to bury the roots of the plant into the potting mix.
5. water the plants lightly, using a spray bottle.
6. Place the self-watering pot in a location that receives indirect sunlight.
7. Check the pot regularly to ensure that the potting mix is moist. If it begins to dry out, add more water.
If you’re looking for an easy-to-care-for houseplant, African violets are a great option. One way to make caring for them even easier is to grow them in self-watering pots. With a little bit of preparation, you can have your African violets thriving with very little effort on your part.
